
Standing at a crosswalk in kimono, waiting for the light to change, and feeling a sudden draft slip in through your sleeve—it’s a familiar winter moment, isn’t it? With Western clothes, you can usually just pile on more layers, but kimono isn’t quite that simple. Actually, though, once you understand the order in which to dress and exactly where to add warmth, it’s not as tricky as it seems.
Kimono Feel Cold at Three Spots: The Neck, Sleeves, and Feet
Unlike Western clothing, kimono are cut with open spaces at the neck, sleeves, and feet. Since drafts almost always sneak in through these three spots, it’s much easier to choose your cold-weather items with the goal of sealing off just these three areas, rather than layering at random. In this article, we’ll go through cold-weather measures in the actual order you’d get dressed: starting from the innermost layer, then moving to the feet, the neck, and finally outerwear.
Layer From the Skin Outward: Underwear, Leggings, and the Nagajuban
The first layer to consider is what goes directly against the skin. For leggings or suteteko (loose under-shorts), a thickness of around 60 to 110 denier is easy to work with, and styles with a shallower rise and a front opening or side zipper make bathroom trips much easier. A length that stops just above the ankle is ideal, since it won’t get in the way when you walk and stays hidden under the kimono.
Suteteko are thin and light, so they don’t disrupt the kimono’s silhouette. Leggings-style inner layers, on the other hand, cover all the way to the ankle, and pairing them with double-layered tabi (split-toe socks) or tabi liners makes winter outings much more comfortable. For those who tend to feel the cold, there’s advice that layering a thin silk piece with a thin wool piece can keep you efficiently warm, which is worth remembering.
That said, wearing tights makes it hard to fit into tabi. If you choose tights, a practical option is to skip tabi altogether and pair them with boots that don’t have a split toe. For a closer look at choosing the right nagajuban (an under-kimono), including fabric options, see our guide to choosing a nagajuban.
Feet: Layering Tabi, Tabi Covers, and Zori
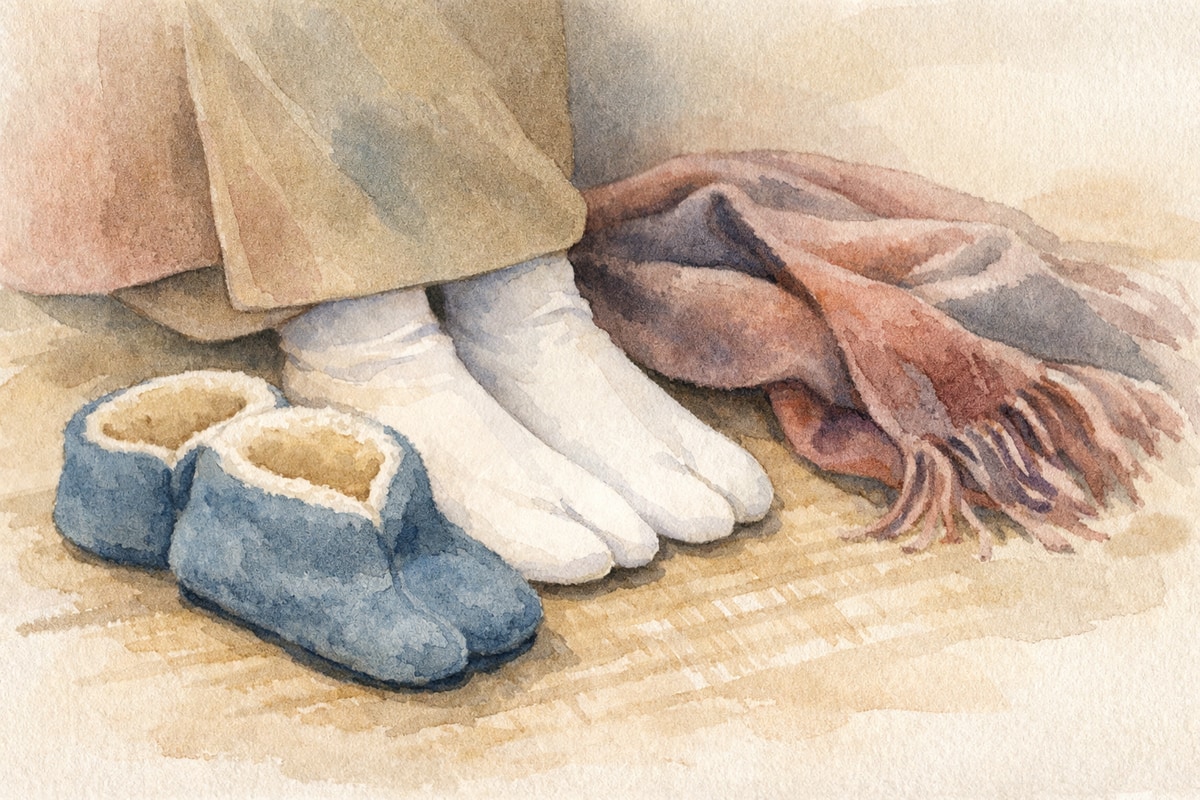
The feet are one of the areas most prone to feeling cold. Winter tabi come in brushed-fleece, flannel-lined, or fleece versions, and just switching to one of these makes a noticeable difference. For extra warmth, tabi covers—worn over your regular tabi—are handy, and versions with a microfleece lining can simply be layered over the tabi you already wear. There are also stretch-fabric tabi covers without a kohaze (the metal clasp that fastens tabi), which some people prefer for how easy they are to put on and take off.
Feet are trickier than other areas because it’s not always obvious how many layers to add or what to combine. Knowing more about tabi sizing, materials, and color choices can help take the guesswork out of it—see our guide to tabi sizing and selection for more. Tabi liners made with Toray’s Heat Fit material are also commonly used in practice, and some people combine them with tabi covers.
Neck and Hands: Pairing Shawls, Scarves, and Gloves
The neckline is everything when it comes to a kimono’s overall look, so how you wrap your cold-weather accessories can change the whole impression. The key with shawls and scarves is to drape them softly over the collar so they don’t disturb the line of the eri (the collar). For your hands, gloves are the way to go, but choosing a style that lets your fingers move freely makes it much easier to handle bags and belongings without fumbling.
Outerwear: Choosing Between a Haori and a Michiyuki Coat
Whether you take your outer layer off indoors or not determines which type to choose. A haori (a short kimono jacket) is similar in feel to a cardigan in Western clothing, and except at formal occasions such as tea ceremonies, there’s no breach of etiquette in keeping it on indoors. A michiyuki-style kimono coat, on the other hand, is meant strictly for outdoor wear, and just like a Western coat, the basic rule is to take it off before entering someone’s home. When visiting somewhere, it’s smoothest to remove it at the entrance before ringing the doorbell.
If you’re often out and about casually, a haori that you don’t need to remove indoors is the more convenient, low-effort choice. If you have formal occasions coming up, it’s reassuring to have a michiyuki coat on hand as well. If you’d like to understand the difference between a haori and a michiyuki coat in more depth, articles covering how each one developed can offer more context.
Small Fixes for Static and Dryness
Another winter kimono headache is static cling around the hem. The main causes are friction between synthetic fabrics and dry winter air. Polyester kimono tend to build up static through friction with the nagajuban, so simply pairing fabrics that don’t hold a charge easily—like cotton or silk—can reduce the problem. Running a humidifier to keep indoor humidity up also helps more than you’d expect.
As for anti-static spray, opinions differ: some say to spray the entire back side of the kimono or any surface prone to static, while others suggest spraying the inner layers before dressing rather than the kimono itself. Either way, since some kimono fabrics can discolor or stain from spray, it’s safest to test on an inconspicuous spot first. Some people lightly spray both the susoyoke (a underskirt) and leggings, but overdoing it can backfire, so stick to just a light mist.
Moisturizing your skin also helps prevent static. Applying cream to your arms and legs after a bath or in the morning can cut down on static caused by dry skin. Just be sure it’s fully absorbed before dressing, since hand cream or similar products can stain the kimono if they transfer onto the fabric. Using fabric softener when washing is another way to reduce static, thanks to the surfactants it contains.
In Summary: Layer From the Skin Outward
The easiest way to think about winter kimono warmth is to layer outward, starting from your underwear, moving to your feet, then your neck, and finally your outerwear. Once you’ve sealed off the drafty spots—the neck, sleeves, and feet—everything else is just a matter of personal preference. Suteteko and leggings, tabi covers, choosing between a haori and a michiyuki coat, and small tricks for managing static: none of these are difficult on their own. So go ahead and step out in kimono with confidence, even on the coldest mornings.