
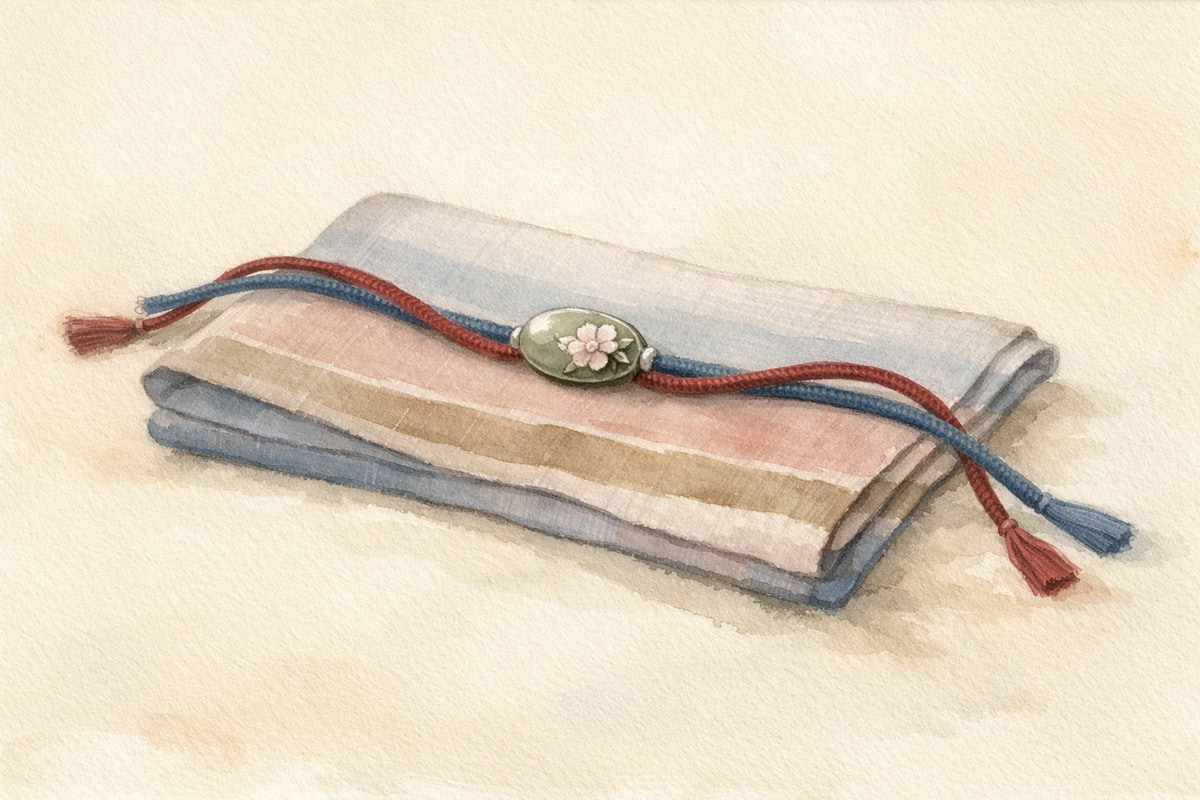
You finally found an obidome (a decorative ornament worn on the obi) you love, but as you walk, it keeps twisting off to the side. You’re sure you’re putting it on correctly, yet something feels off. Sound familiar? Often, the real issue isn’t the tying technique itself but the cord you’re using. Whether an obidome stays put or not comes down to whether you’re properly using a special cord called sanbu himo. Today, let’s walk through how it works and how to tie it so it won’t slip, together.
Three Reasons an Obidome Spins Around
There are generally three reasons an obidome won’t stay stable. First, the cord is tied too loosely. Second, the size of the hole in the ornament’s fitting doesn’t match the thickness of the cord. Third, the knot is positioned incorrectly.
The cord that passes through the ring-shaped fitting on an obidome isn’t actually a regular obijime (a cord tied over the obi). Instead, you use a special thin cord called sanbu himo, about 9mm wide. “Sanbu” refers to the cord’s width — roughly 0.9cm. There are also nibu himo (about 0.7cm) and yonbu himo (about 1.2cm), and you choose based on the size of the hole in the fitting. Even among sanbu himo, thickness and width can vary slightly depending on the maker, so some slide through easily while others feel a bit tight. It’s reassuring to test the cord against your obidome before buying.
How to Thread Sanbu Himo and Move the Knot to the Back
The threading process is surprisingly simple. First, thread the sanbu himo through the obidome, then bring it around to your back. Bring both ends back to the front, pull them evenly and firmly, and tie the two sides tightly together. This is called hon-musubi (a proper knot) — the key is to tie it as a firm, flat knot rather than a bow. Once tied, neatly gather the excess length, hold the cord with both hands, and rotate the knot toward the back in the same direction you wrapped the obi. Finally, turn it around so that only the obidome sits at the front, and you’re done.
Unlike a regular obijime, where the knot is meant to show at the front, sanbu himo works differently. Since the obidome is meant to be the star of the look, the design is meant to hide the knot inside the obi at the back — that’s the key difference from an ordinary obijime. The tasseled ends also aren’t pre-trimmed short; they’re left a bit long on purpose, so they can be threaded through the fitting easily. That’s a distinctive feature of sanbu himo.
A Secure Fit Comes Down to How Tightly You Tie the Knot and How You Hold It
The basic fix for sideways slipping is to tie the cord neatly and firmly. A good guide is tying it just tight enough that one finger can barely fit into the knot. Too loose, and the obidome will drift around; too tight, and it becomes uncomfortable. Sanbu himo made of polyester or other slippery materials tends to loosen more easily than pure silk (shoken) cords, so it helps to tie it a bit more firmly than usual with these.
There’s also a trick to how you hold the cord while rotating the knot to the back. Hold the obidome’s fitting in your hand and slide only the cord as you rotate it — this is gentler on the obi fabric. Try moving it while imagining lifting the fitting slightly away from the obi’s surface. If it still keeps spinning no matter what, you can also try tying a single overhand knot right after threading the cord through the fitting, or switching to a clip-style fastener instead of a ring-shaped one. If your favorite obidome just won’t settle down, it’s worth giving these a try.
What to Check When Buying More Sanbu Himo or Obidome
When buying additional cords and obidome, what you want to check is the compatibility between the width of the fitting’s hole and the thickness of the cord. Since even sanbu himo can vary slightly by maker, it’s best, if possible, to bring your existing obidome to the store and test the fit before deciding — that way you’ll avoid a mismatch. Choosing materials to suit the season can also help create a cooler look in summer or a more polished, formal feel at other times. For more on coordinating colors across your obijime and obiage (a fabric accent above the obi) as a whole, it’s worth reading How to Choose Obijime and Obiage: The Basics of Formality and Color Matching as well — it will make putting together your look much easier.
A Note on Wearing Obidome with Yukata
More people are enjoying pairing obidome with a yukata (a light cotton summer kimono) these days, but obi styling for yukata mainly uses a hanhaba obi (a narrow half-width sash), and the feel of tying it differs a bit from an obi worn with kimono. If your sanbu himo is made of polyester, which tends to loosen easily, it can slip out of place even more during lively events like summer festivals or fireworks displays, so it helps to tie it a notch firmer than usual before heading out. If you’re unsure whether to even pair an obijime and obiage with a yukata in the first place, you might find Do You Need Obijime and Obiage with a Yukata? How to Enjoy Them as Accents Without Overdoing It helpful as well.
In Summary
The reason an obidome spins around has less to do with the cord itself and more to do with the tying technique and how well the cord matches the fitting. Once you understand that sanbu himo is a special cord about 9mm wide, designed to hide the knot at the back so the obidome takes center stage at the front, threading it becomes much less confusing. Tie it firmly, using the one-finger test as your guide, and when rotating it to the back, lift the fitting slightly and slide only the cord. Just keep these two points in mind, and your obidome will stay far more secure. Give it a try on your next outing, so you can wear your favorite obidome with confidence all day long.