
On days when you head out in a furisode (a long-sleeved formal kimono) or kimono, have you ever felt a little secret worry beneath the excitement: “What am I going to do about the bathroom?” The sleeves are long, the hem is layered many times over, and it’s natural to feel a bit nervous about accidentally soiling something. But don’t worry — there are really only two things to learn: how to gather up the sleeves, and the order for lifting the hem. Once you’ve got these two down, using the bathroom in a furisode or an everyday kimono becomes something you can handle calmly.
Choosing a Western-style toilet lets you move with more composure
Once you’re in the restroom, choose a Western-style toilet if you can. When answering the call of nature in kimono, the key is to sit lightly toward the front of the seat. Compared to a squat-style toilet, where you have to crouch down while holding your hem up, a Western-style toilet makes it much easier to manage your sode and hem at the same time. For occasions like watching a play or attending a tea gathering, where you’ll be spending long hours in kimono, it’s reassuring to check the venue’s restroom situation ahead of time.
Step 1: Start by gathering both sleeves
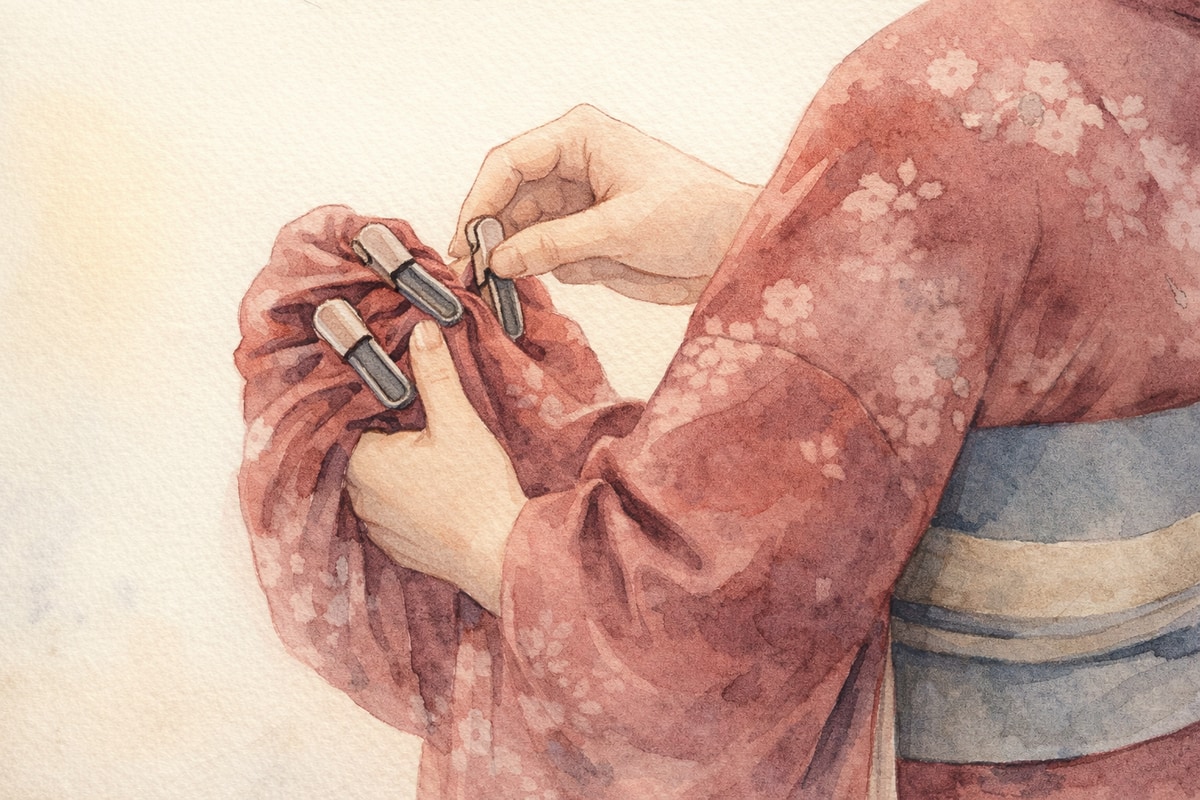
Before you deal with the hem, start by gathering both sleeves in front of your body. There are several ways to do this: tying them loosely at the front, clipping them to the top of the obi (the wide sash tied around a kimono), or tucking them into the obijime (a cord tied over the obi). If the sode are especially long, as with a furisode, it’s also handy to use a cord-attached sleeve clip that hangs around your neck to suspend both sleeves. Once the sleeves are secured first, everything that follows becomes much easier. When using a clip, the trick is to fold the sode toward the side of your body before clipping it in place.
Step 2: Lift the hem starting with the uwamae, from the outside in
Next comes the hem. The order for lifting a kimono’s hem is: first the uwamae — the outer layer of fabric on your left side as you look down at yourself — and then the shitamae — the inner layer hidden underneath, on your right side. The idea is to lift each layer in turn, from the outside toward the inside, almost like turning them inside out: the kimono’s uwamae, then the kimono’s shitamae, followed by the nagajuban’s (an under-kimono) uwamae and shitamae, and finally the susoyoke (a slip worn under the nagajuban). Make sure you’ve lifted all the layers before actually using the toilet. If you gather the hem up to about chest height and secure it with a clip, it will stay in place even once you let go.
Step 3: Put everything back in reverse order
When you’re finished, put each layer back down carefully, one at a time, in the reverse order from how you lifted them: the susoyoke, then the nagajuban, then the kimono. If you try to put everything back all at once, the fabric can twist and create wrinkles, so taking your time and smoothing each layer back into place, one by one, is the best way to prevent the kimono coming loose (kizukure). Even when you’re in a hurry, it’s worth pausing for a breath here.
Key points to remember
When lifting: go “from the outside (uwamae) to the inside (shitamae)”
When putting back: go in “the reverse order from how you lifted”
Secure the sleeves first, then use a clip to lift the hem up to chest height
A kimono clip is a reassuring thing to have on hand
What makes all of these steps easier is a kimono clip. It generally serves two purposes: gathering and holding both sleeves together, and securing the hem once it’s lifted. One clip is enough for the sleeves, but it’s reassuring to keep at least two in your bag so you can use one for the sleeves and another for the hem. A clip also comes in handy for temporarily holding the collar (eri) in place, or for keeping the hem up on a rainy day, so if you find yourself wearing kimono more often, it’s worth adding one to your kimono essentials.
After putting everything back, a few things worth checking in the mirror
Once you’ve straightened yourself up, take a moment to check your reflection before leaving the stall. Look at three things: whether the hem is level on both sides, whether the area below the obi looks bunched up, and whether the ohashori (the fold tucked at the waist) has become messy. Catching a small issue here saves you the trouble of a rushed fix later. And if you ever notice the kimono coming loose while you’re out, our guide to fixing kizukure in different situations is worth knowing as well.
In closing
Using the bathroom in a furisode or kimono isn’t as difficult as it might seem. Gather the sleeves, lift the hem starting from the uwamae, and once you’re done, put everything back in reverse order. Once this flow becomes second nature, you’ll be able to repeat it smoothly every time. Knowing the steps in advance brings a sense of ease, and that, in turn, makes the whole day spent in kimono feel that much more freeing.